
Photo 1: Angel's Bonnet mushrooms backlit by the setting sun in woodland. 5D III, 100mm f/2.8 macro II, 1/25, f/4, ISO 125, speedlite with 0.5 CTO gel, beanbag
December has arrived and with it the onset of winter here in the UK. So long autumn. But before I dig out my thermals, arctic mittens and heated boots I thought I’d look at some recent Fall images.
In England (and much of Europe) the weather was unusually warm, so trees kept their leaves longer than normal. This meant that the forest fungi which grown on leaf litter and rotten wood were later than usual in appearing. A final burst of toadstools and mushrooms emerged a couple of weeks ago, coinciding with sunny weather - ideal photographing conditions, I took advantage of this to visit my local woods and snap a few of these transitory plants. I packed a camera, 100mm macro lens (although the focal length isn’t critical as fungi don’t usually run away if you get too close…), speedlite flash with a small softbox and a set of orange CTO gels, a radio control system for the flash (makes it easy to position the flash away from the camera), a tripod and ball head (ball heads are by far the best option for getting the camera into the desired position) and donned some waterproof trousers, boots and coat as I knew I’d be lying on the wet ground.
I came across the group of Angel’s Bonnet mushrooms (Photo 1) above growing in vibrant moss on a fallen tree. I waited for sunset, when the light was soft and warm, and set the fungi against the ebbing light filter through the trees behind them. I used a speedlight with a 0.5 CTO gel to add a light to the mushrooms, which were silhouetted against the light. The gel was used to make sure that the light coming from the flash matched the colour of the evening sunlight (light from flashes is much bluer than natural evening light and would have coloured the subjects). The flash was positioned low and zoomed to 200mm to help minimise the light spread. It was aimed upwards to fire over the top of the fungi so that the light falling onto them was from the edge of the flashes' light-cone (a technique called feathering, commonly used by studio photographers). This avoids lighting the foreground too much which can be distracting in a photo, and gives a nicer quality of light on the subject. The speedlight was used in manual mode for maximum control and consistency of the light from one frame to the next and set to just under 1/128th power as it was close to the subjects and I wanted the image to look natural rather than flash-zapped. The near-circles in the background are lens flare which I got by pointing the lens towards the sun and carefully adjusting its position until the flare appeared in the area that I wanted it to. Pointing the lens slightly away from sun will eliminate this effect to give a different type of image, such as that in photo 2.

Photo 2: These Milking Bonnet fungi have been photographed using virtually the same technique as in the previous photo. The difference in this second shot is that I haven’t angled the lens towards the sun to give a darker, smoother, flare-free background

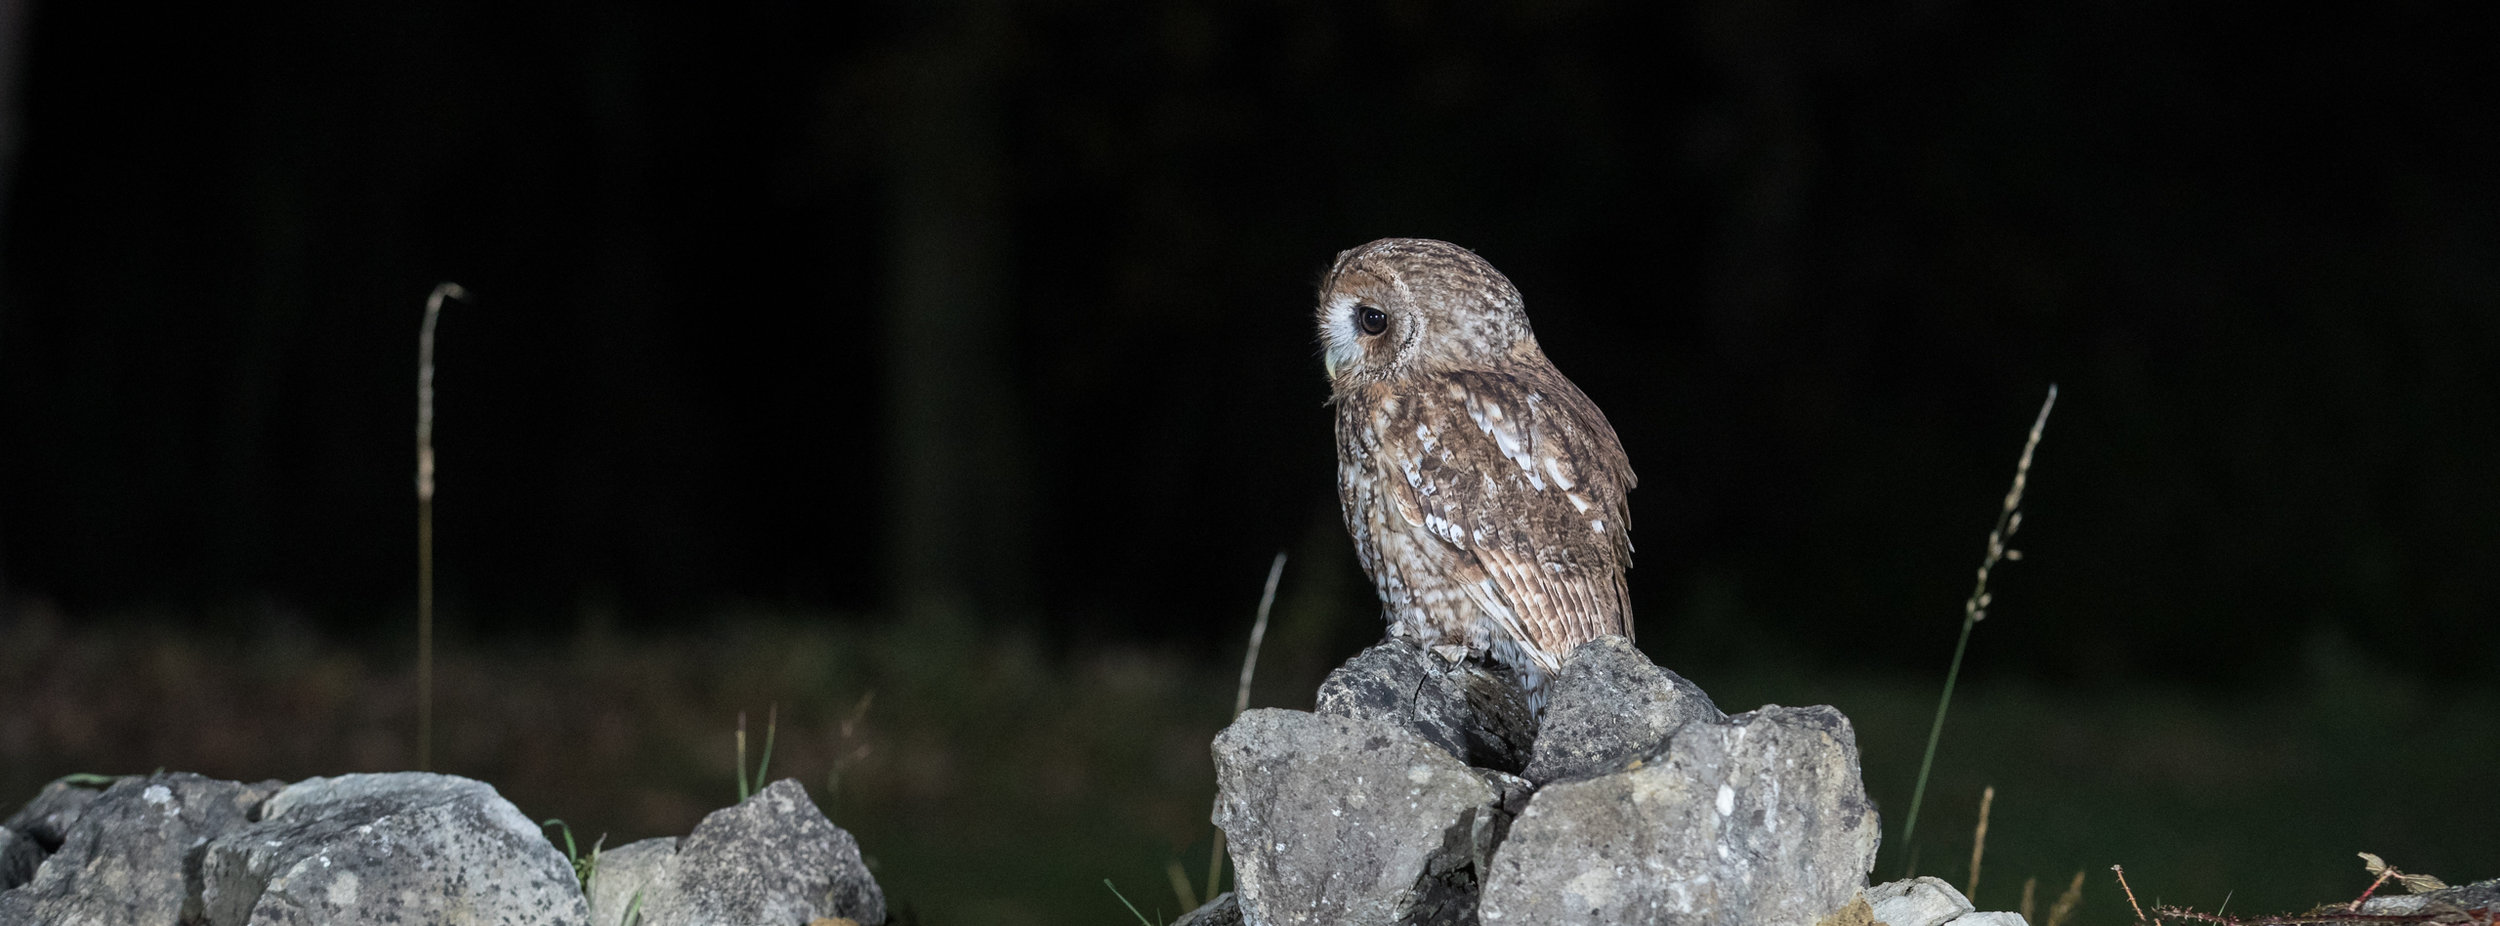
Photo 3: Backlit silhouette, underexposed in-camera to saturate the dusk sky colours
Of course, you don’t have to light your subjects with flash - by turning off the flash and placing the sun behind your target you can create silhouettes. This works best when the image is deliberately underexposed as this has the effect of saturating the light to give deep colours. You’ll also need to choose a subject with an easily recognisable shape. Photo 3 illustrates this approach. (I haven’t yet managed to identify these mushrooms).
What, I wonder, might be better than an afternoon’s crawling around the forest photographing fungi? How about photographing fungi with wildlife attached? Like this Red Squirrel - black as it’s in its winter coat - investigating a Fly Agaric toadstool in the forests west of Vienna. Once again I used flash - this time to brighten the squirrel and toadstool a little so that they stood out from the dark green background. The flash is a large Profoto B1 500 w/s unit (roughly equivalent to 5 speedlight flashes in output) with a 1m softbox attached to give a nice soft light. I didn’t need to use a gel on the flash as this shot was taken in the middle of the day when the natural light is a similar colour to that from the flash. I have to admit that before I took this shot I had no idea that squirrels eat toadstools, but you can clearly see where it took a bite out of the top right shortly before I took the photograph.
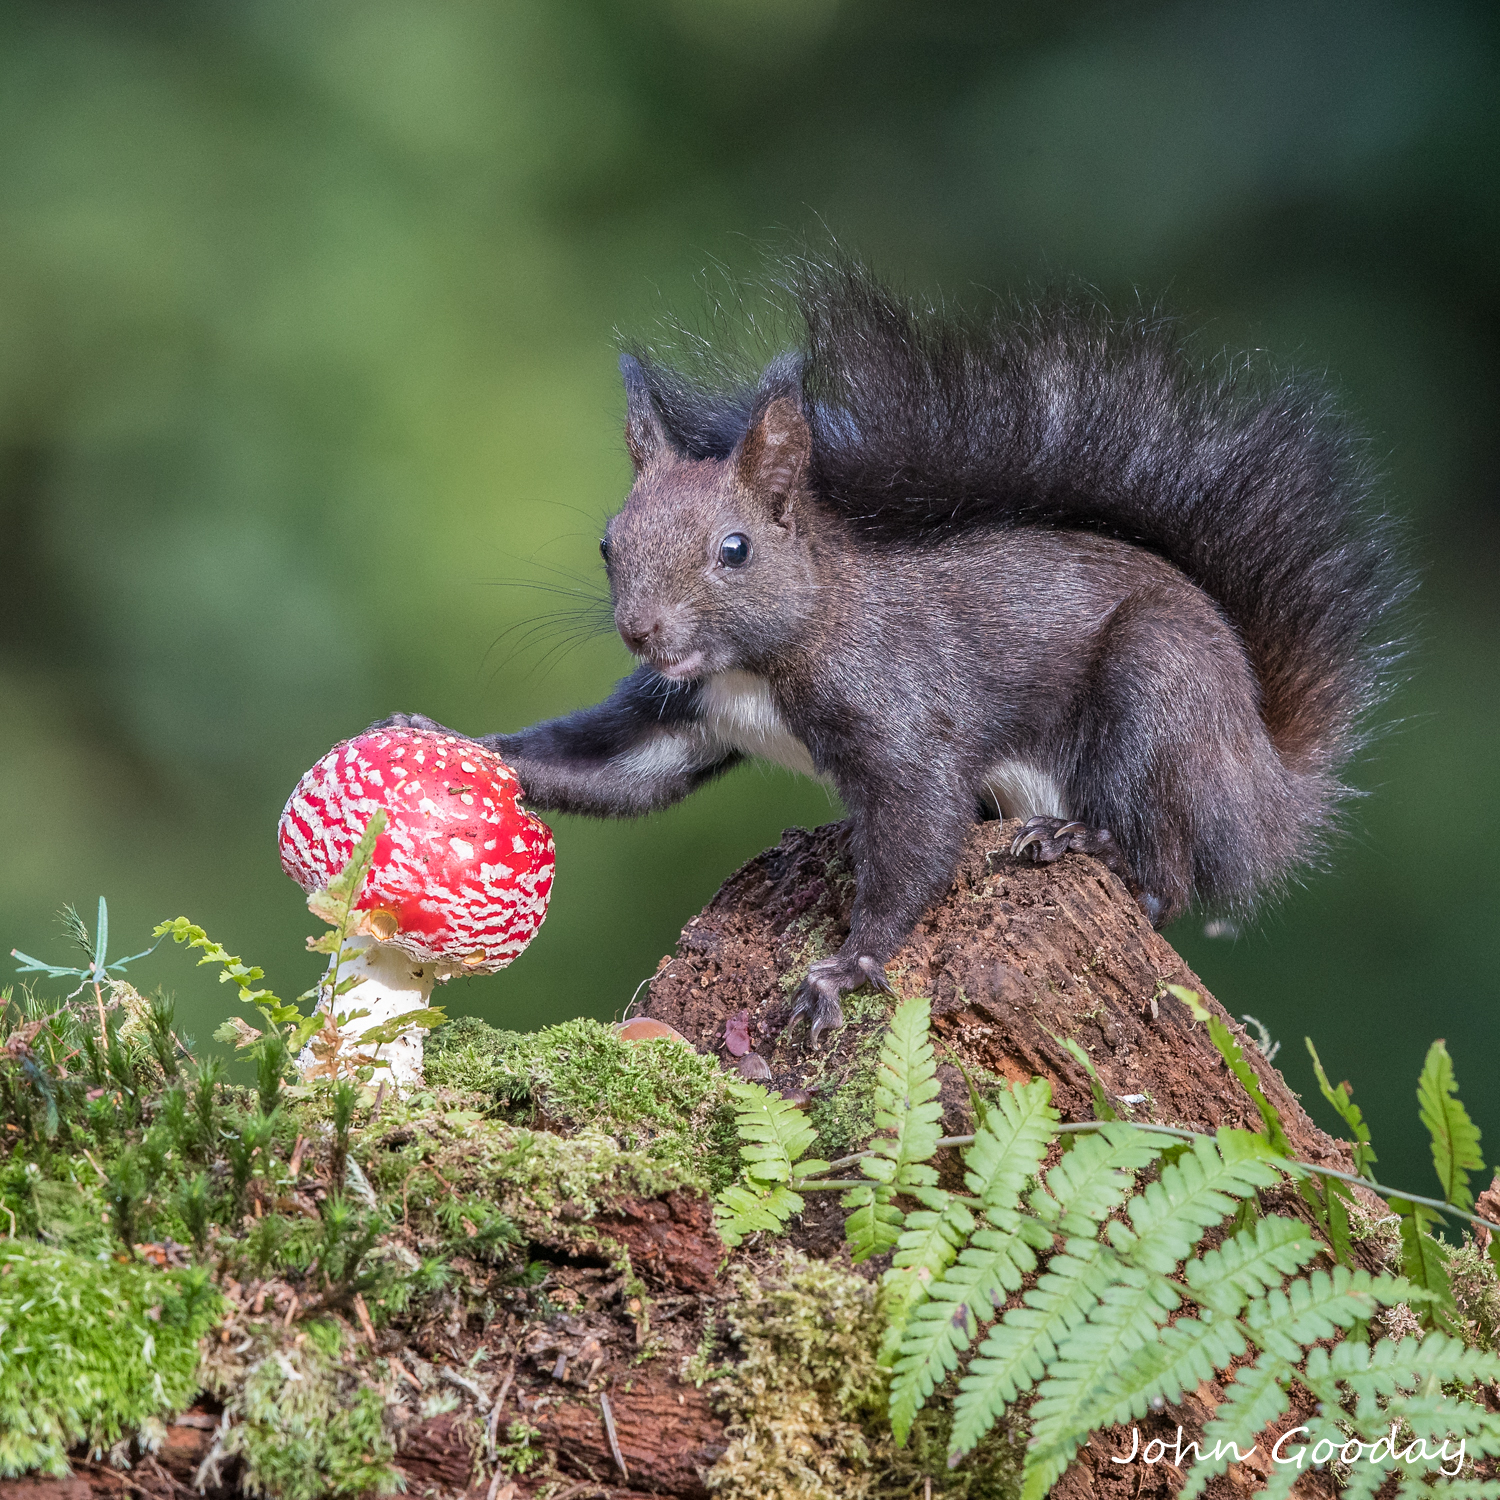
Photo 4: A Red Squirrel in the Viennese Forest, Austria, investigating a Fly Agaric toadstool. Thanks to my wildlife film maker friend Gunther for inviting me to photograph with him in the forest around his home.