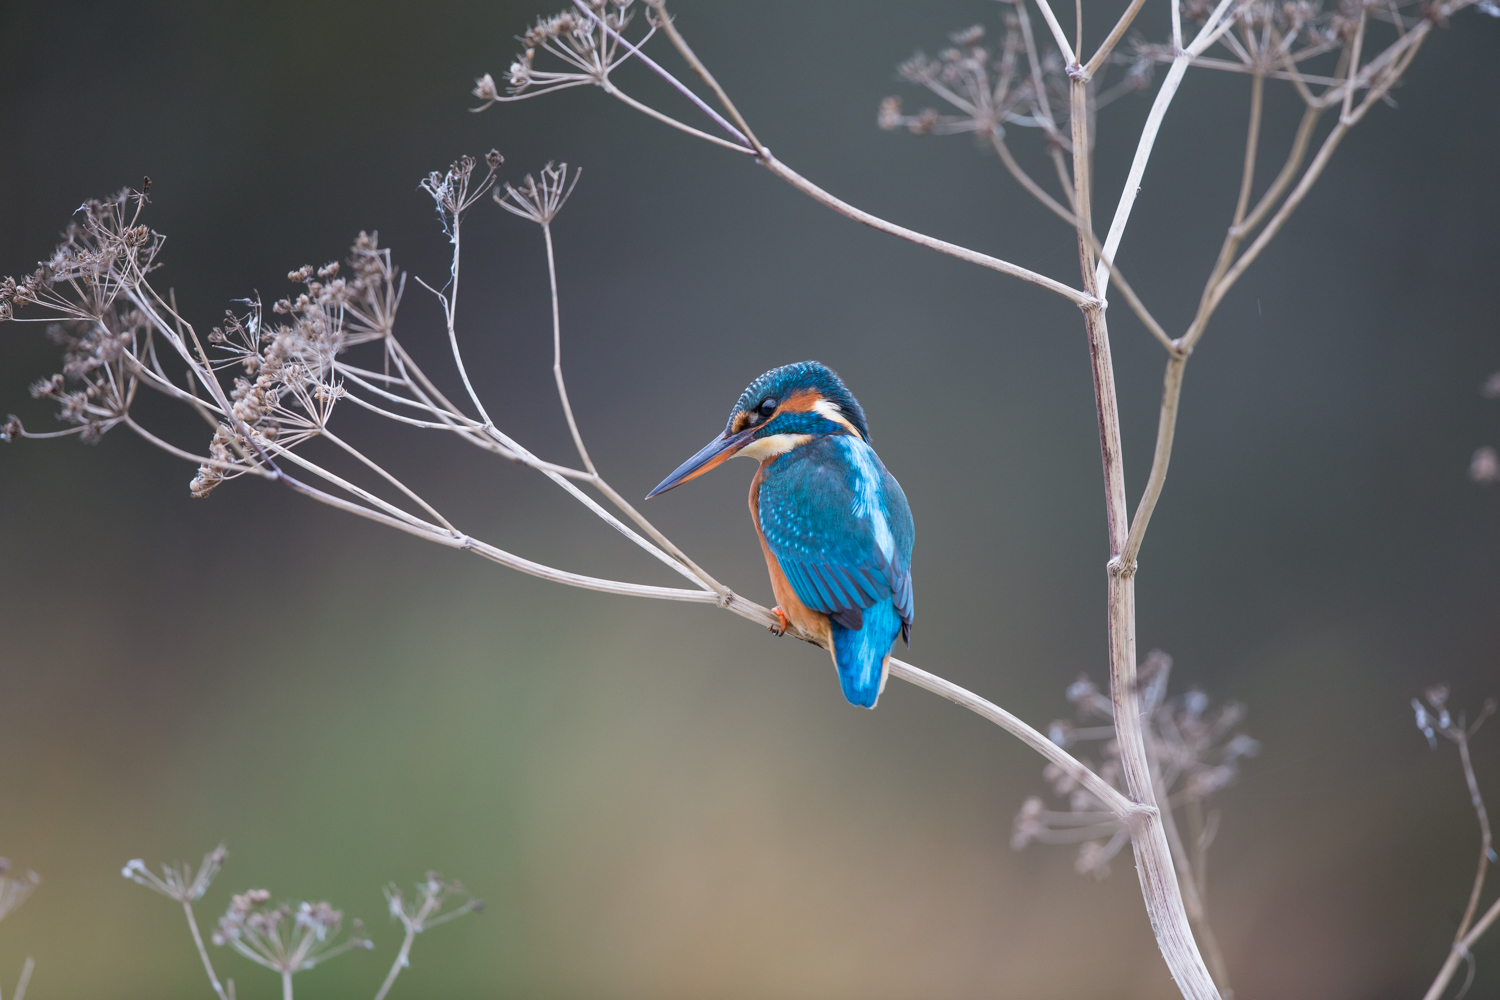
Image 1: mostly natural light with a tiny hint of flash
Time for a bit of photo fun with the aid of flash guns. The images in this post were taken in the same location, with the same wild Kingfisher, just a few minutes apart. What makes them look and feel very different is the lighting settings I used.
The first shot was taken using mainly the available natural light, which was nice and soft thanks to the overcast weather, supplemented by a hint of flash to very subtly bright the Kingfisher and perch in the foreground. This tiny flicker of additional light brightens the foreground and helps the bird stand out from the background which is too far away to be affected by the flash and remains a little darker.
In the second shot, I underexposed the image by 4 stops (!) to remove almost all of the ambient light. Of course, this also means that the foreground – kingfisher and perch – would also be underexposed so I’ve used flash to brighten the foreground up to normal exposure levels. As the background is far away, the light from the flash doesn’t light it. I used TTL flash mode – the camera and flash work together to calculate the correct exposure. TTL can be thrown off by the darker background – in this case the original TTL calculation made the foreground too bright, so I used flash exposure compensation of -1 stop to correct it. This gives a very different feel – almost day turned into night. In fact, here the flash is the main light source and the role of daylight is almost completely removed (there’s a tiny hint of the reeds in bright sunlight at the bottom left corner).

Image 2: Underexposed to remove most of the natural light then re-lit with flash
In the third frame I’ve picked a half-way house and underexposed the scene by 2 stops to make the background darker, but still visible. Then I let the flash in TTL mode light the foreground.
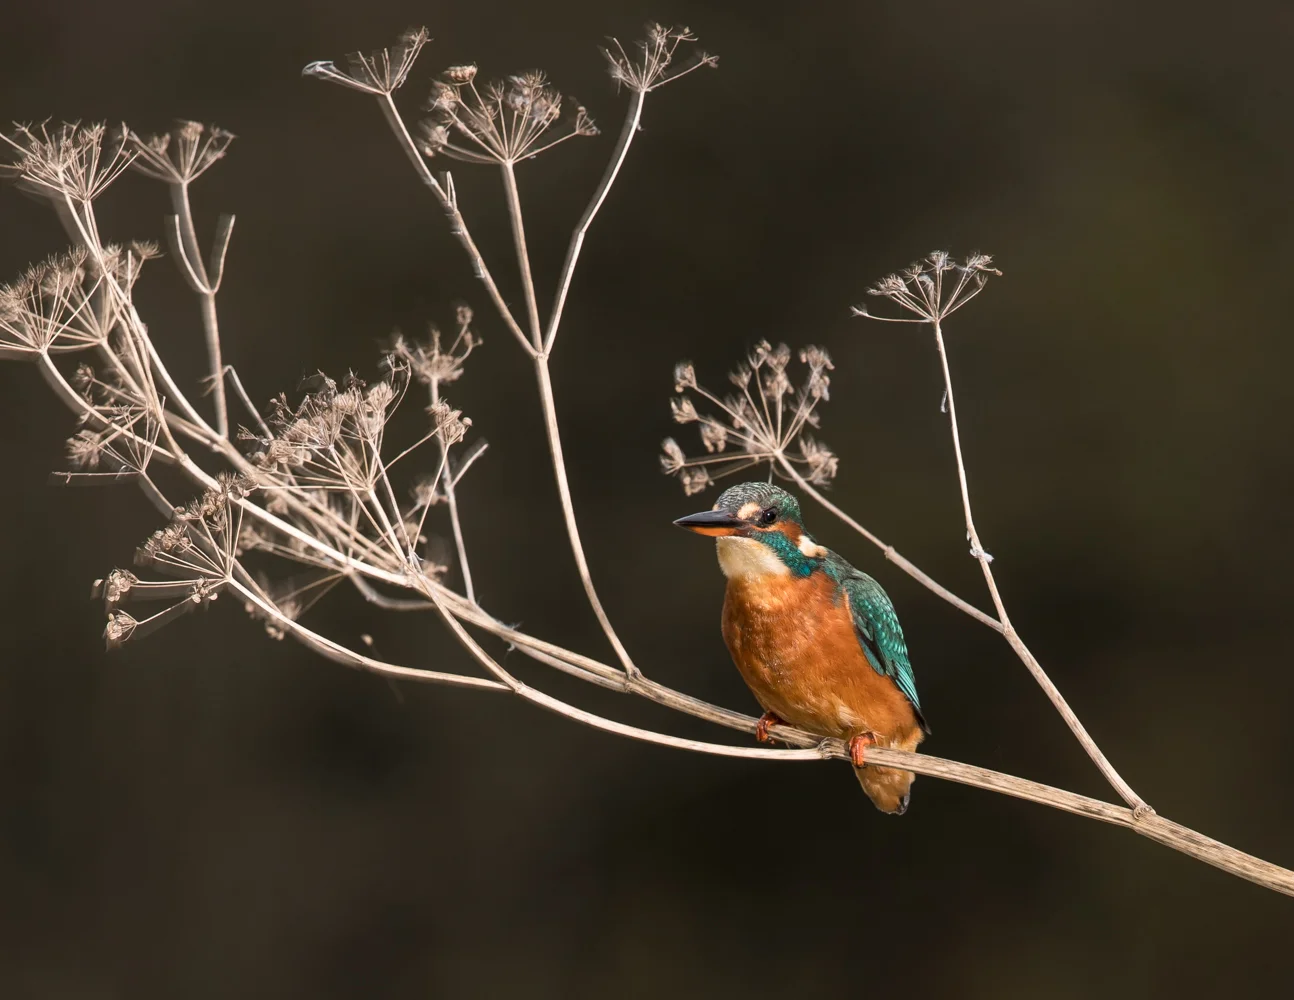
Image 3: half-way house - underexposed a little to darken background, flash used to top-up foreground light
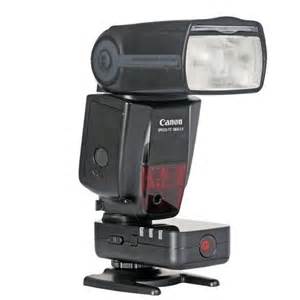
All of this was controlled from a radio master unit that I had connected to the camera in the hide (I used a Profoto system, but I could have just as easily used speedlights with Nikon, Canon, Yongnuo, Pixapro or a myriad of other radio control systems).
If you're interested in learning how to use flash in wildlife photography then why not join me at one of my workshops. You'll find full details and a booking link on my website workshops page www.johngoodayphotography.com/workshops
I'll also be running a series of specialist night workshops to photograph wild Herons and (with luck) Otters in February in conjunction with Wildlife Photography Hides in Lincolnshire. Details here...