
It’s very easy to create temporary water feature sets that can really improve garden bird images without making a mess of your backyard. In this blog post, I’ll look at how to make and set-up a portable reflecting pool.

(Image: Common Starling bathing. Canon EOS 1DX, EF500mm f/4L IS II + 12mm extension tube, 1/640 sec @ f/5.6, ISO 3200, tripod, hide)
Although it's nice to photograph in exotic locations, we shouldn't ignore the wildlife photography opportunities on our doorstep (literally). Most gardens are visited by a variety of birds. Even small plots in the middle of towns can draw in quite a few species with the help of a few carefully positioned bird feeders. To make the most of this, it's worth constructing a simple set to photograph birds in. The idea is to provide an aesthetically pleasing setting that is also attractive to feathered visitors. It's quite easy to set-up a reflecting pool using cheap, easily sourced materials. The additional advantage of the one I'm going to describe here is that it is easily taken down when you need the garden to be nice and tidy for, say, a barbecue party.
The heart of the set is the pool and I've found that large plant trays make ideal water holders. You'll need something fairly long if you want to ensure that there's enough water for a decent reflection - I've found that a meter is is about the right size. You'll need to ensure that your tray is at least 2cm deep, is dark coloured (black is best for reflections) and doesn't have any drainage holes. Plastic trays sold for hydroponics fit the bill nicely. In Europe, Garland manufacture a variety of shallow plastic trays, several of which are ideal. The tray I'm using here is their 120cm by 55cm model (they also make 100cm by 100cm and 120cm by 120cm). If you shop around you can often pick a new one up quite cheaply on ebay (I paid about £12 for this one).

Unless you enjoy lying on the ground, you'll want to raise your tray above ground level. Ideally, your camera will need to be level (or just above level) with the surface of the water so that you are at eye level with the birds. A garden table works well or wooden fruit boxes are a cheap alternative, although they don't like quite as nice. As you'll be filling the tray with water and other heavy items it's a good idea to place some supporting wooden beams under the tray to prevent it from bending, as shown below (your local DIY shop will have a range of these in stock).
It's important to place the tray so that it's both somewhere attractive to birds and has a nice background for photography. Birds like to have nearby cover, so positioning the tray with bushes , trees or a hedge on one side is usually a good idea. Quite often birds will drink straight after eating a dried food, such as bird seed, so placing feeders around the pool will help bring birds into the right vicinity. Make sure that the feeders aren't hanging over the trayor you'll end up with seeds dropping into the water which is both unsightly and a health risk to birds as they may rot and poison the water.
Usually an uncluttered smooth background is best. The easiest way to get this is to have bushes or trees in the distance behind the tray, and the camera near to the front of the tray. I tend to find that placing the camera so that it will just focus on the nearest part of the water is usually a good starting point. Obviously, this will depend on how close your lens focuses. If the minimum focus distance of your lens is quite long, then you could try reducing it by adding an extension ring between the lens and camera (most camera manufacturers make these and, as they are just spacers without any glass in them, they don't reduce the optical performance of the lens. Cheaper third-party alternatives are available - make sure that the ones you buy support autofocus as some don't). Extension rings work best on prime (i.e. fixed focal length) lenses - on many zooms, they won't work as the complex optics of the lens often means the minimum focal distance of the lens with the extension ring can be shorter than the length of the lens itself. The ideal distance from the tray to the background will depend on the lens you'll be using. Lenses with long focal lengths (300mm upwards) and large maximum apertures (e.g. f/4 and wider) will let you get away with a shorter distance to the background than if you use an f/5.6 or 200mm lens. The only sure way of telling is to take a picture and see what the background looks like.
Finally, you'll need to make sure that the light is in the right place for photographing. This depends on taste (although most people like the light to be behind them). You'll need to check that the light is where you want it at the time of day you'll be doing most of your photographing.
Wherever you position the camera, you'll need to ensure that it (and the photographer) are concealed. A pop-up hide (as shown in the image above) is the most flexible solution (a wide variety of inexpensive models are available from Amazon, or if you'd like something a bit more serious www.wildlifewatchingsupplies.co.uk offers vary good cloth dome hides). If you don't want to use a hide, but you could shoot from an (open) window in your house / garden shed if you can position the tray appropriately for cover, background and light. Camouflage netting draped around the camera and window is very helpful for remaining hidden from the birds visiting the trayf.

The next problem is how to make sure that birds land in the right part of the tray for photography - i.e. the far end. You can dissuade birds form landing at the sides of the tray by putting large branche/small logss along the edges - these need to be high enough to make it awkward for a bird to reach down to the water when standing on them. At the far end of the tray (where you want the birds to land) place thinner branches, or bark to just cover the plastic wall from view. Building a ramp into the water from bark also helps smaller birds. The final trick is to prevent your feathered visitors landing at the near end of the tray with their back to you. I use a couple of ridged plastic cat deterrents under the water (the ones I use were labelled ' Cactus spikes'). These are not sharp and won't harm the birds, but they make it difficult for them to wade in the water so they will usually use the far end of the tray in preference. (It turns out that they aren't much good as cat deterrents, by the way - I have photos of cats happily sitting on the ones that I have on top of my garden walls...).
The image below shows the sort of view you should get looking through the camera once everything is in place. This is shot with a 500mm f/4 lens with a 12mm extension ring about 2.5m from the tray. The background is a bush about 5m behind the tray. As the bush is tall, it gives a nice green reflection in the water. Hard to believe that this is just a plastic tray with a few bits of mossy branch added, isn't it?
As the water is still rather than flowing, you'll need to change it every couple of days to prevent it from becoming stagnant. Popping a hosepipe in for five minutes does the trick nicely.

Once everything is in place, you'll probably need to leave things for a few days to allow birds to get used to the set-up before you start photographing. Although reflections are the most obvious photographic option, you'll also be able to get images of birds splashing about in the water and, if you've used nice branches at the sides of the tray, images of birds perching on these. (Drilling holes into the top of the side branches in which you can hide peanuts and bird seed will help).

(Image: Blue Tit reflected in the water tray. Canon EOS 1DX, EF500mm f/4L IS II + 12mm extension tube, 1/640 sec @ f/5, ISO 1600)
One of the nice things about this set-up is that it's very easy to change. Bored with a mossy branch? Why not try pebbles instead? Or aquatic plants, or sand... it's up to you.

(Image: Male Blackbird standing on pebbles at the far end of the tray. Canon EOS 5D Mark III, EF500mm f/4L IS II, 1/160 sec @ f/7.1, ISO 1600, tripod, hide)

(Image: Robin bathing. Canon EOS 1DX, EF500mm f/4L IS II, 1/1000 sec @ f/5.6, ISO 800, tripod, hide)

(Image: Rain-soaked House Sparrow photographed on one of the large branches placed along the side of the tray. Canon EOS 1DX, EF500mm f/4L IS II + 12mm extension tuve, 1/200 sec @ f/5, ISO 4000, tripod, hide)

(Image: The 'raindrops' around this Starling are actually splashes from other birds bathing in the tray below. Canon EOS 5D Mark III, EF500mm f/4L IS II, 1/320 sec @ f/4.5, ISO 1250, tripod, hide)
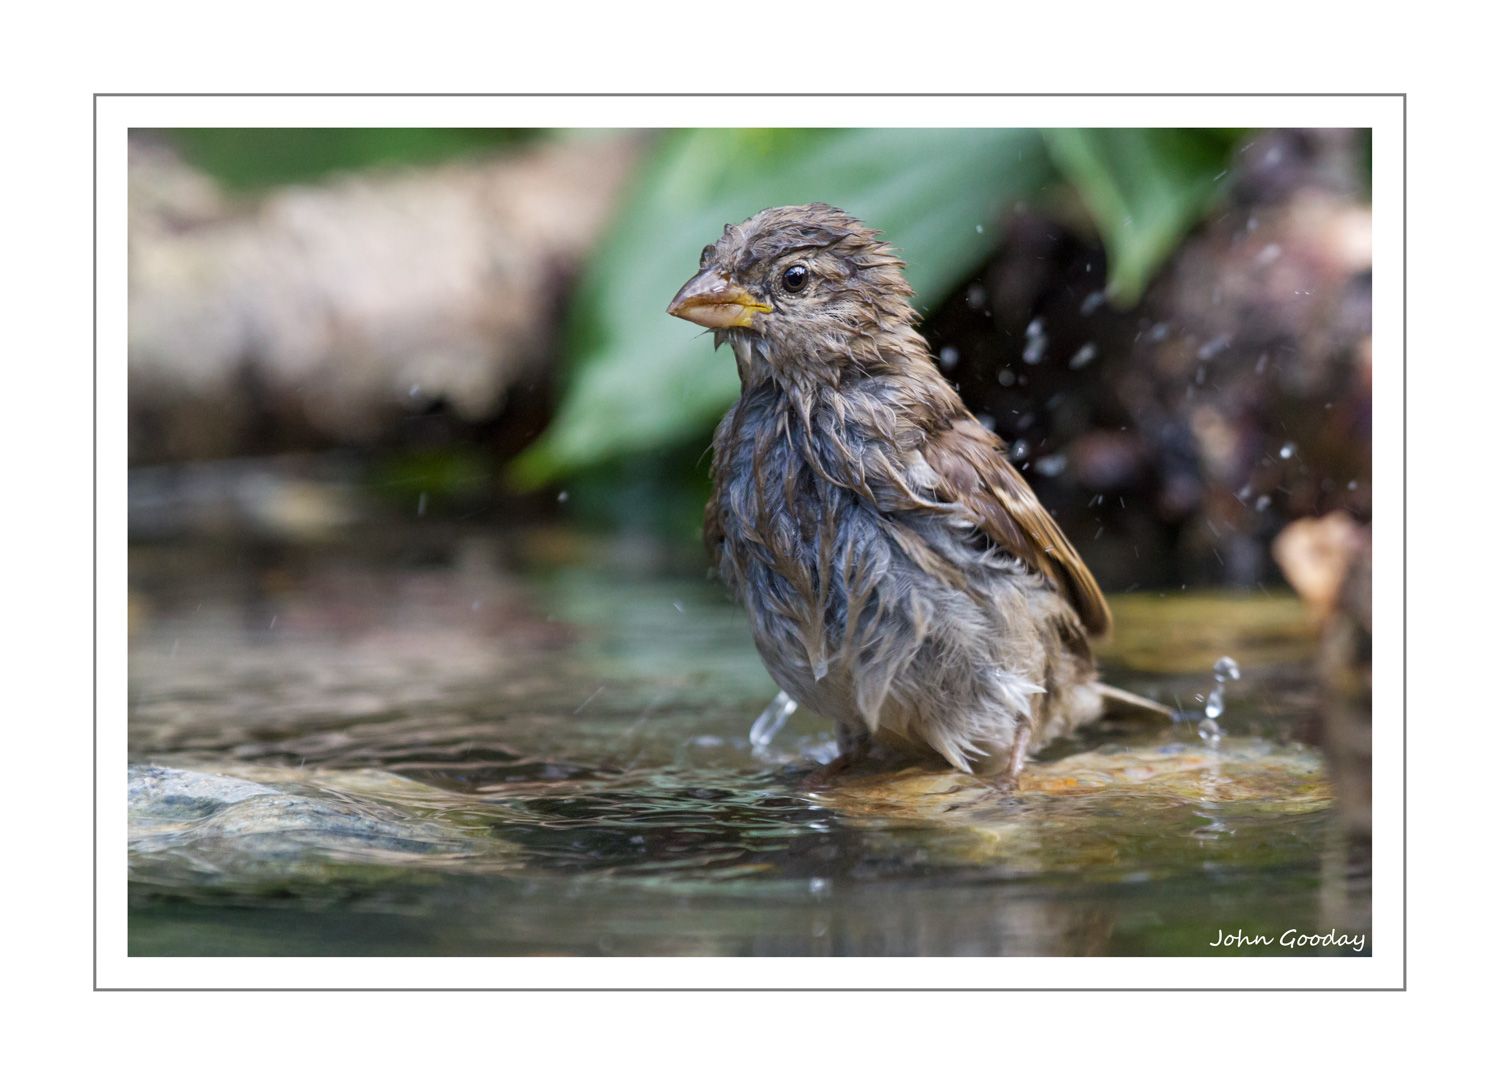
(Image: female House Sparrow. Canon EOS7D, EF100-400mm f/4.5-5.6L IS, 1/500 sec @ f/6.3, ISO 1600, tripod, hide)